
Friday, 12 June 2015
End of year exhibit
Final Film - The Dancing Doll
working back into old images
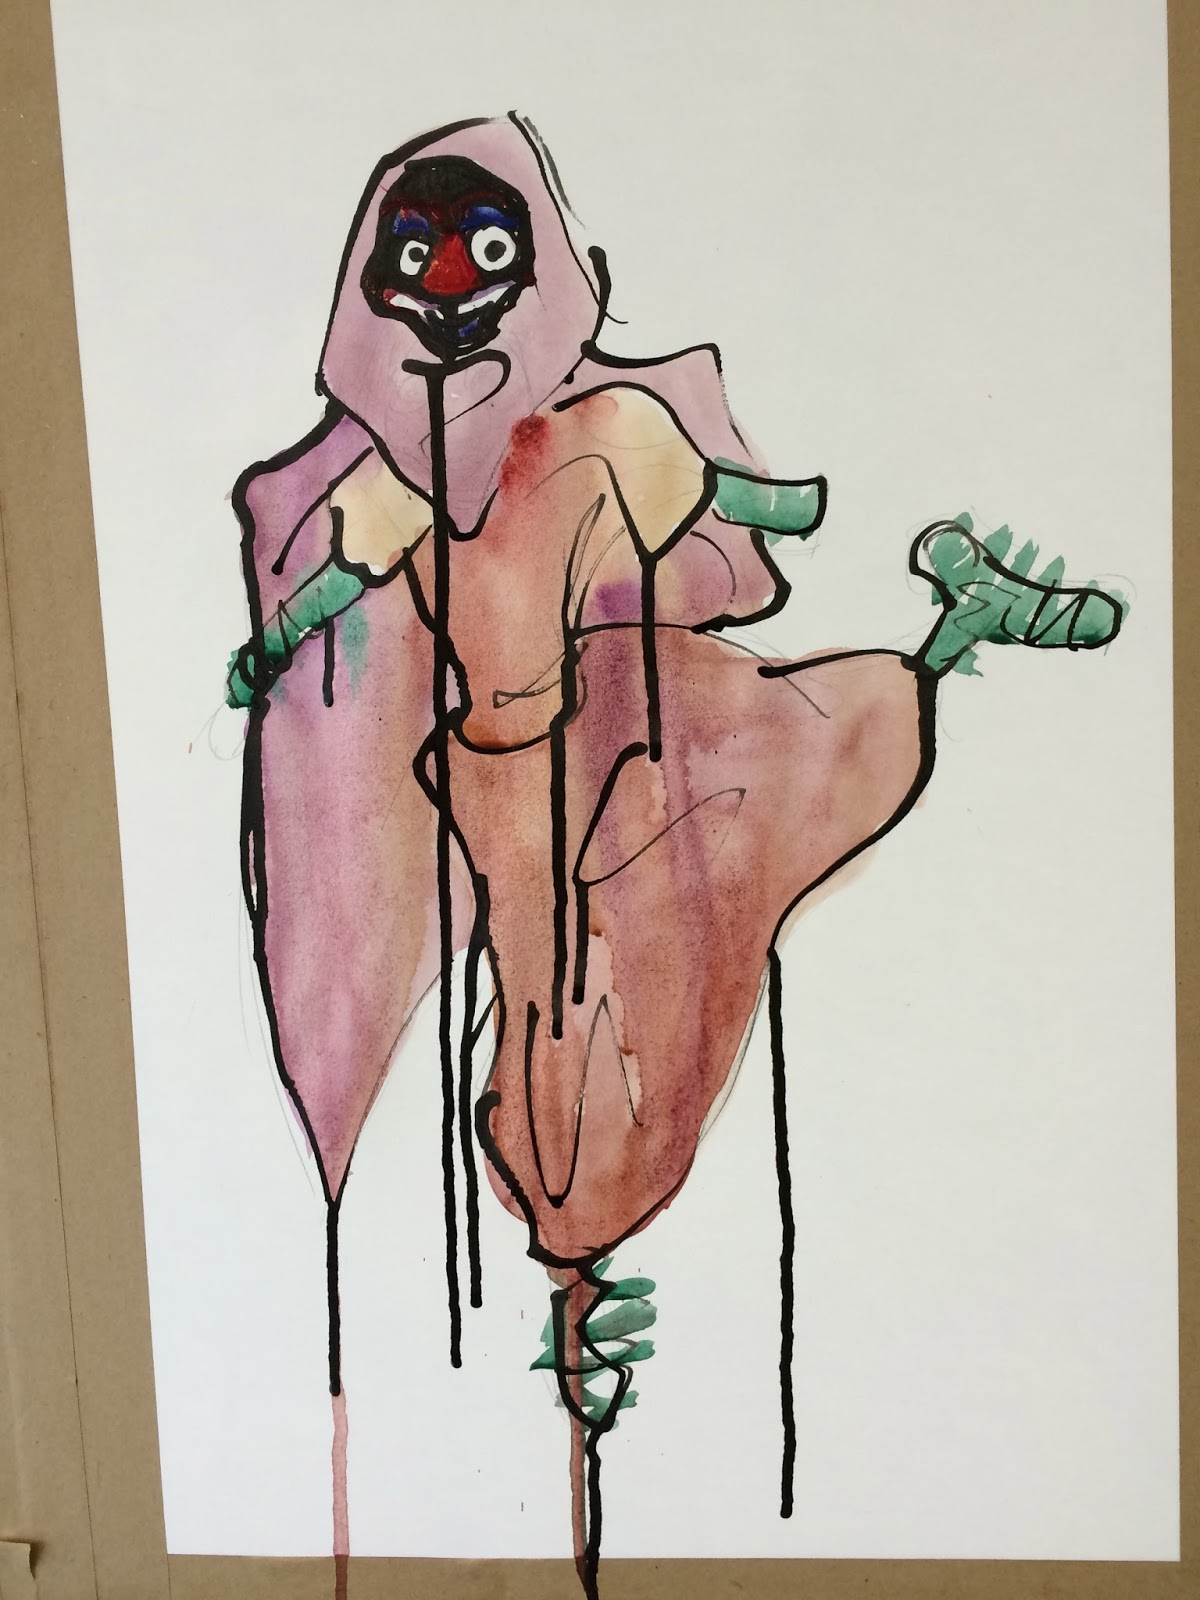
I worked back into two of my previous images, the first being my fourth doll drawing that i had already worked into and the second being my large drawing of my clown doll


The New Stop motion
With this stop motion i made it longer with more photographs which overall made the dance movements slower which also made it easier to sync up the motion with the music. My main problem here was that the music ends quite abruptly so i plan to fade it out and in to make it seem more natural.
I also need to work on the ending credits so that they don't zoom past the screen
Thursday, 11 June 2015
Illustrations in colour
As i worked into the other images with water colours they looked much nicer than the messy image from before, the previous one felt unorganised while because these have nothing else but the dolls the focus is on the dolls.


Illustrations
As well as the stop motion work i also started working on 2d pieces of work on stretched paper. These images like my previous drawings were done in stick and ink.


Originally these drawings were meant to be worked into like the previous large pieces i had done however...
Actual first attempt at stop motion
Circus tent details 2
I wanted to add more details to the tent since i had time to do so and that i wanted to make the tent look more exaggerated and outlandish with little bits of details.

 The beads are one of my favourite features as i feel they make the tent more circus like, similar to bunting and other hanging decorations on circus tents.
 The original plan for the border was to cover up the lower lighting as it looked very messy but also to give the circus a finished and framed feel to it. however when the lights were being held down (with tape) they were starting to over heat so they were left loose, the boarder still covers a large majority of it though.


The ribbon was added on either side of the curtain to first of all cover the string tying it open and second to make those ties more interesting visually.


The cones are painted white card cut to make small cones to cover over the top of the large nails sticking out the roof. to hold them in place i wrapped the leftover beads which i feel looks really nice.
Wednesday, 10 June 2015
My stop motion
It was actually a lot faster and easier than i had originally thought. while the doll was awkward to move because the wire, while moveable, is very firm and stiff. the stop motion also resulted in being very jerky and jumped about quite a bit it was also a lot shorter than the original minute long film i thought it would be. The Dance the doll performs is called Autumn the same as the song it dances to, and was originally performed by my sister for a show. The show was called En Pointe and was put on by a friend of the family who is a dance teacher who did the choreography for the original dance.
As i felt i had the time i decided to work into the tent and do another stop motion this time hopefully improved.
First Tent details
My main reason for making the dolls was to draw from and to use in stop motion and i realised in my first test animatic (which i should if its not been deleted be putting up in due time) that i was going to need some form of background and surrounding area. i decided to make my own circus tent because of my research into the circus itself.


 After the frame was made i took a large sheet of material and draped it over the frame, cutting holes for the spikes to poke through. I then cut the material to fall and cover the tent without overlapping each other, except for the front where it will be tied back which would produce folds in the material any way.

So to make the tent i used a pin board base with a frame nailed and glued into it made from wooden sticks and nails.


Before putting the material back on i painted each side and roof with red and white stripes like that of a traditional circus tent, but i darkened the colour with brown to make it have a more sinister feel, i did this on both sides of the tent.
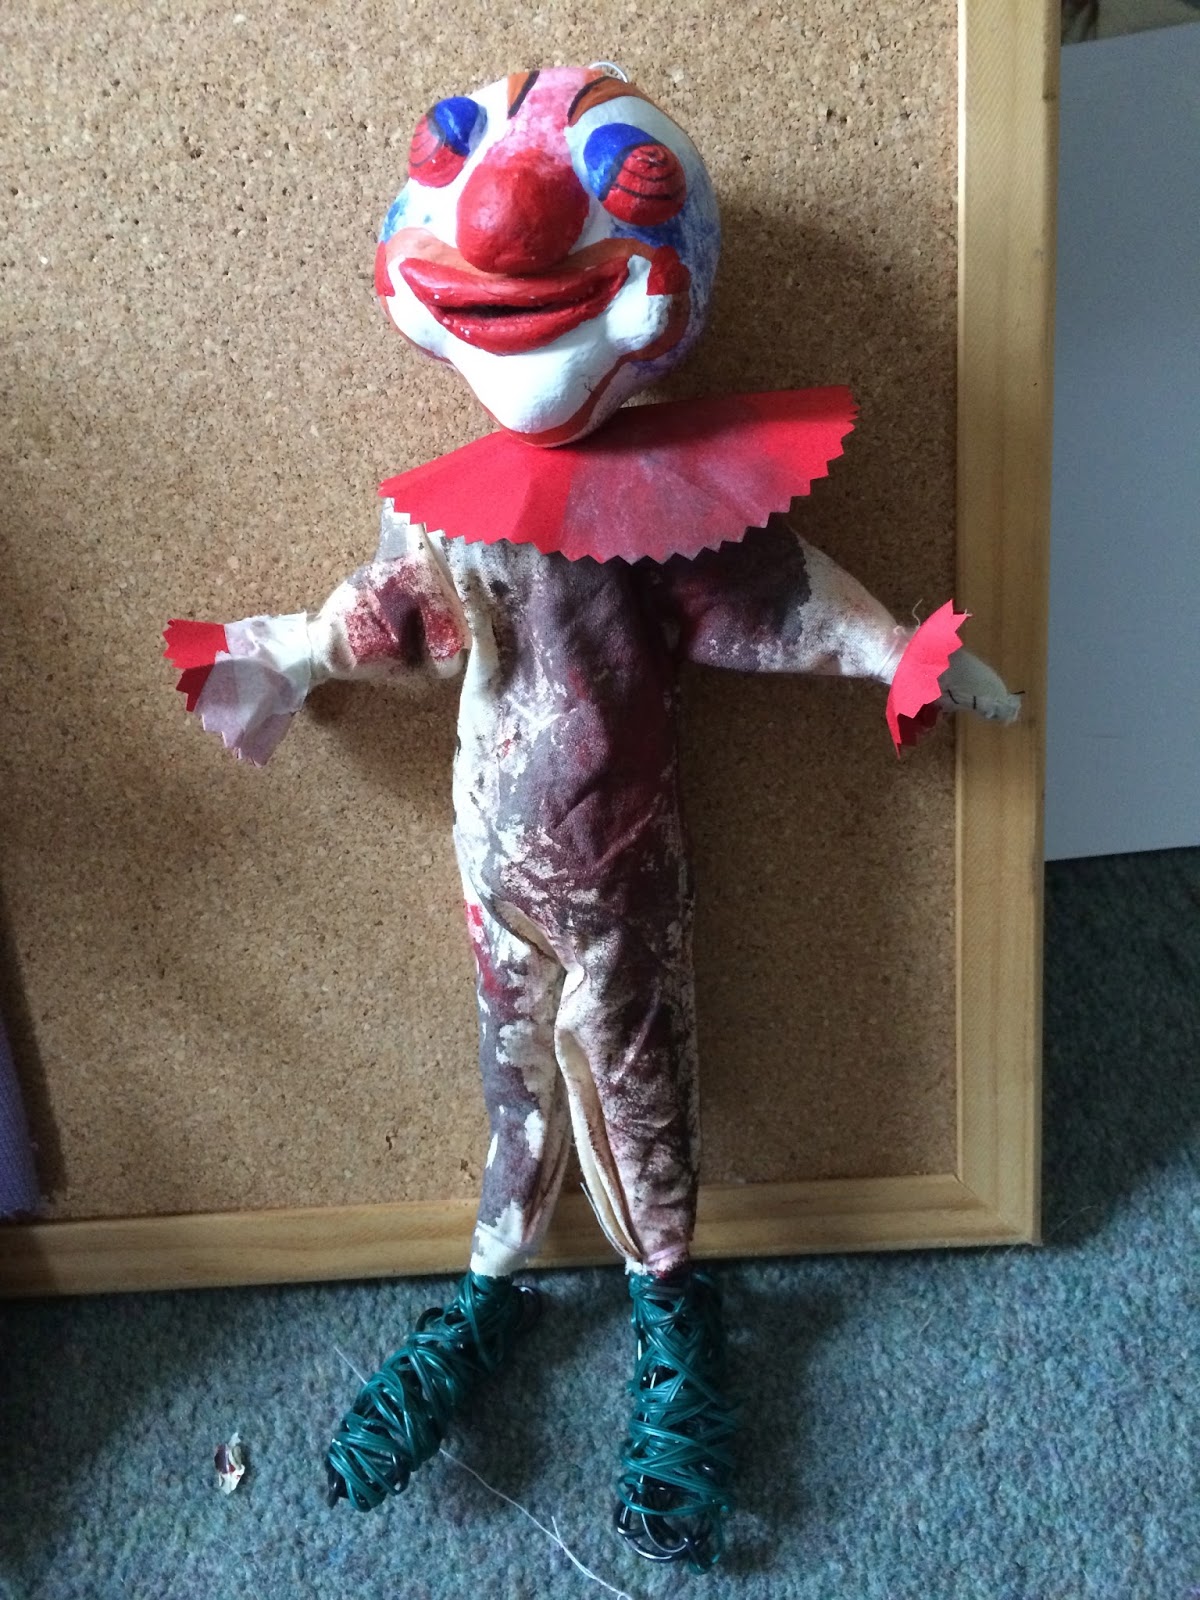
Doll creation Part 8 Final Part Clothes
With each doll i wanted to give them different clothing as well as clothing that went with peoples opinion of what sort of clothes made a doll appealing or creepy. So after gathering peoples opinions i designed different clothes for each doll.
As the below doll had a very feminine face i chose to focus on giving it a dress, working on dark material and thinking with the idea of old, worn dresses. the stitching was very haphazard and irregular which i quite liked as it added to the off putting image of the doll.


Doll Creation Part 7 Hands

Doll Creation Head attachment Part 6
The heads were painted with acrylic paint like before and went through multiple design and variations. When i attached the heads to the wire i posted the wire through holes made in the base and roof, this was very awkward and difficult to do as i couldn't fit the wire in the holes or angle the wire correctly (at first) i stripped the wire of its covering making it thinner and more malleable so i could get it through the holes attaching the head to the body.


Doll Creation 5 Wire Bodies


On two of the bodies i put calico to see if it was easier to attach the clothes to the body or not.
Doll Creation Part 4 Doll Heads


Monday, 1 June 2015
Doll creation part 3 the body
I wanted to make bodies for my dolls that were sturdy and could have movable limbs. After look at an artist who made wire dolls I decided that I would make my own.


Doll creation part 2 large doll heads creepy and appealing
 The next doll heads were made using a questionnaire of what people find creepy and appealing about dolls. The above doll was focused on the creepy side which had very prominent features while the below was the appealing doll that had more subtle features.
 When applying the paint I looked to what people found creepy once again as well as sticking to my colour palette.
Subscribe to:
Comments (Atom)